
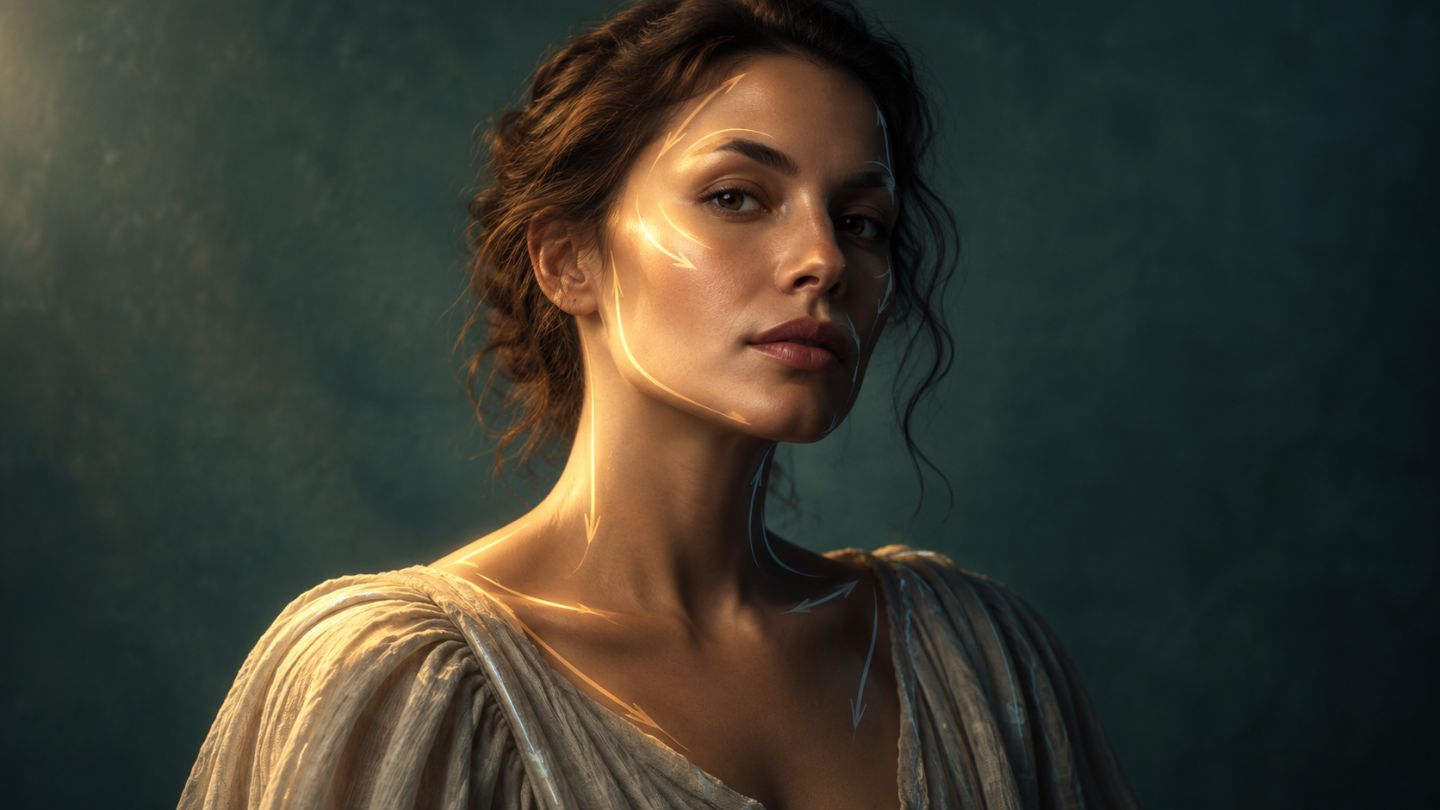
Dodge lightens and Burn darkens local areas to refine volume, attention, and lighting consistency. Good technique supports existing structure rather than drawing a different face.
Two distinct goals
| Goal | Purpose |
|---|---|
| Corrective Dodge & Burn | Evens small light and dark spots while retaining texture |
| Contour Dodge & Burn | Shapes larger areas such as cheekbones, jaw, forehead, and key light |
Three methods
- Dodge/Burn Tool: fast; choose Range, low Exposure, and Protect Tones.
- Two Curves Adjustment Layers: one brighter and one darker, each with a black mask painted white.
- 50% gray layer: set to Soft Light and paint white or black at low Flow.
Curves are highly editable. A gray layer makes strokes easy to inspect but can introduce color shifts. In every method, name layers and build changes gradually.
Portrait workflow
- Correct overall exposure and color first.
- Create a temporary high-contrast black-and-white viewing aid.
- Repair small tonal spots at 100%.
- Zoom out and shape larger volumes according to real light.
- Toggle the group and reduce its opacity when necessary.
- Inspect the color image for gray, red, or oversaturated areas.
Where to shape
You may lightly brighten existing highlights on the forehead, nose, cheekbones, and eyes, then deepen transitions under cheekbones, jaw, or fabric folds. Follow the photograph's light and the subject's individual structure rather than a fixed face map.
Common mistakes
- High Exposure or Flow that leaves visible strokes.
- Symmetrical contouring under asymmetrical light.
- Dodging highlights that are already clipped.
- Changing facial identity through excessive shaping.
- Looking only at the monochrome helper layer.
Dodge and Burn should feel like better light, not visible paint on skin.
Practice exercise
Create separate Dodge and Burn Curves layers. Spend ten minutes on small corrections and ten on broad volume. Reduce the group to 70% opacity and compare at output size.

No comments yet. Be the first to share your thoughts.