
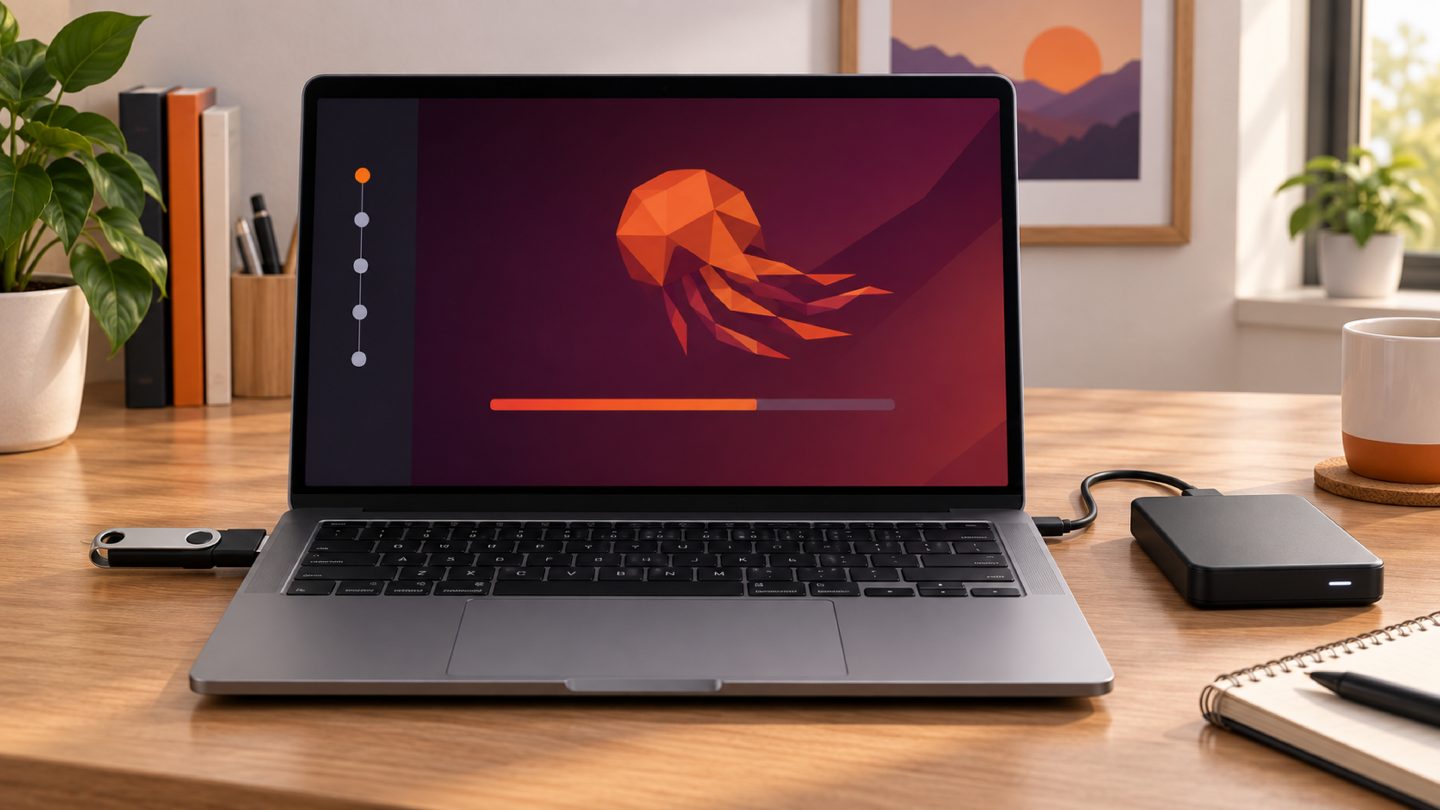
Installing Ubuntu Desktop is straightforward, but selecting the wrong disk or partition can destroy data. A safe installation starts with a verified backup, hardware checks, and correctly prepared media before the installer changes any storage device.
This guide uses Ubuntu Desktop 26.04 LTS, the latest LTS release at the time of writing. Future point releases may look slightly different, but the decisions around USB media, UEFI, disk setup, encryption, and data protection remain similar.
1. Check requirements and prepare
Ubuntu lists a 2 GHz dual-core processor, 6 GB of memory, at least 25 GB of free storage, USB installation media, and optional Internet access among its Desktop requirements.
- An 8 GB or larger USB drive; it will be erased.
- An official Ubuntu Desktop ISO image.
- An external disk or cloud location for important files.
- Wi-Fi credentials and a laptop power adapter.
- The BitLocker recovery key when Windows drive encryption is enabled.
Open several files from the backup before changing partitions. A backup that has never been tested is not yet a dependable recovery plan.
2. Download the correct Ubuntu image
Choose an LTS release for a personal or work computer that prioritizes stability. Most Intel and AMD PCs use the amd64 image. ARM devices require an image built for their architecture and hardware.
Download the ISO from the official Ubuntu Desktop page. You can compare its SHA-256 value with the checksum published on the Ubuntu release server:
certutil -hashfile ubuntu-26.04-desktop-amd64.iso SHA256On Linux:
sha256sum ubuntu-26.04-desktop-amd64.iso3. Create a bootable USB on Windows
- Download Rufus from its official site and launch it.
- Insert the USB drive and verify the correct device is selected.
- Click SELECT and choose the Ubuntu ISO.
- Keep the defaults on most computers. If the USB previously failed to boot, select GPT and UEFI (non CSM).
- Click START and keep ISO Image mode when prompted.
- Confirm the erase warning and wait until Rufus reports READY.
Copying the ISO with File Explorer is not enough. An image writer must create the bootable structure.
4. Create the USB on Ubuntu or macOS
On Ubuntu, open Disks, select the USB device, choose Drive Options, and use Restore Disk Image. On macOS, Ubuntu documentation recommends balenaEtcher: select the ISO, choose the target USB, and flash it.
5. Boot the computer from USB
- Insert the USB into the target computer and restart.
- Open the boot menu. Common keys include
F12,Esc,F2, andF10. - Select the UEFI entry for the USB when the machine uses UEFI.
- If it is missing, check the port, firmware boot order, and how the image was written.
Ubuntu supports Secure Boot on many systems, so disabling it should not be the default response. Change firmware settings only to solve a specific, understood problem.
6. Try Ubuntu before installation
Select Try Ubuntu to run from the USB without changing the internal disk. Test:
- Wi-Fi, Bluetooth, audio, and the webcam.
- Keyboard, touchpad, screen brightness, and external displays.
- Whether the internal SSD or NVMe drive is visible.
- Charging, suspend, and resume on a laptop.
Investigate critical hardware failures before removing the existing operating system.
7. Start the installer
Open Install Ubuntu, then choose the language, accessibility settings, and keyboard layout. Networking is optional but allows updates and third-party drivers to be downloaded during installation.
Interactive installation is appropriate for most users. The default application selection provides essentials; the extended selection adds office tools and utilities that can also be installed later. Enable third-party software when suitable for NVIDIA hardware and media support.
8. Choose a disk setup
| Option | Use it when | Important consequence |
|---|---|---|
| Erase disk and install Ubuntu | Ubuntu will be the only operating system and backups are complete | Erases all data on the selected disk |
| Install alongside | You want to dual boot with Windows or another OS | Requires free space and BitLocker checks |
| Manual installation | An experienced user needs a custom partition layout | A wrong format or mount choice can destroy data |
Read the disk model and capacity before confirming. Do not infer the target only from its order in the list.
Dual-boot considerations
If the installer warns about BitLocker, do not continue with an alongside installation until the recovery key is backed up and BitLocker is handled according to Ubuntu and Microsoft guidance. If Intel RST hides the disk, follow the documented Windows-to-AHCI procedure; changing firmware settings without preparation may prevent Windows from booting.
9. Decide whether to encrypt the disk
Encryption protects data when a laptop is lost or a drive is removed. The installer offers passphrase encryption and may offer hardware-backed encryption on compatible systems.
Store the passphrase safely outside the computer. Resetting an Ubuntu account cannot recover an encrypted disk without its unlock secret.
10. Create the account and review
Enter a name, computer name, username, and strong password. Requiring a password at login is recommended, especially for mobile computers. Select the timezone and review the summary:
- The correct target disk and installation type.
- The intended erase or dual-boot choice.
- The intended encryption setting.
- The correct language, keyboard, and timezone.
Click Install only after these values are correct.
11. Restart into Ubuntu
When installation completes, restart, remove the USB when prompted, and press Enter. If the installer appears again, remove the USB and check the UEFI boot order.
12. Complete post-install tasks
sudo apt update
sudo apt upgrade
sudo reboot
Open Software & Updates to check additional drivers, particularly for NVIDIA graphics. Restore personal data, synchronize the browser, and install applications from App Center or trusted sources.
Review the installed system:
lsb_release -a
df -h
lsblk
sudo systemctl --failed
Common installation problems
- USB does not boot: rewrite it, change the USB port, try GPT/UEFI, and verify the checksum.
- SSD is missing: follow the Intel RST and AHCI documentation instead of changing settings blindly.
- No Wi-Fi: use Ethernet or USB tethering to obtain updates, then check Additional Drivers.
- Black screen: try safe graphics from the boot menu and install the appropriate driver afterward.
- The machine boots only Windows: inspect the boot order before changing or deleting partitions.
- Clock differs in dual boot: configure both systems to use a consistent hardware-clock strategy.
Safe installation checklist
- Important backups have been opened and verified.
- The ISO came from Ubuntu and its checksum was checked when needed.
- The correct USB was selected before writing the image.
- Wi-Fi, audio, touchpad, and storage were tested in the live session.
- The erase, dual-boot, or manual partition choice is fully understood.
- BitLocker recovery keys and encryption passphrases are stored safely.
- The installed system has been updated and drivers checked.

No comments yet. Be the first to share your thoughts.