
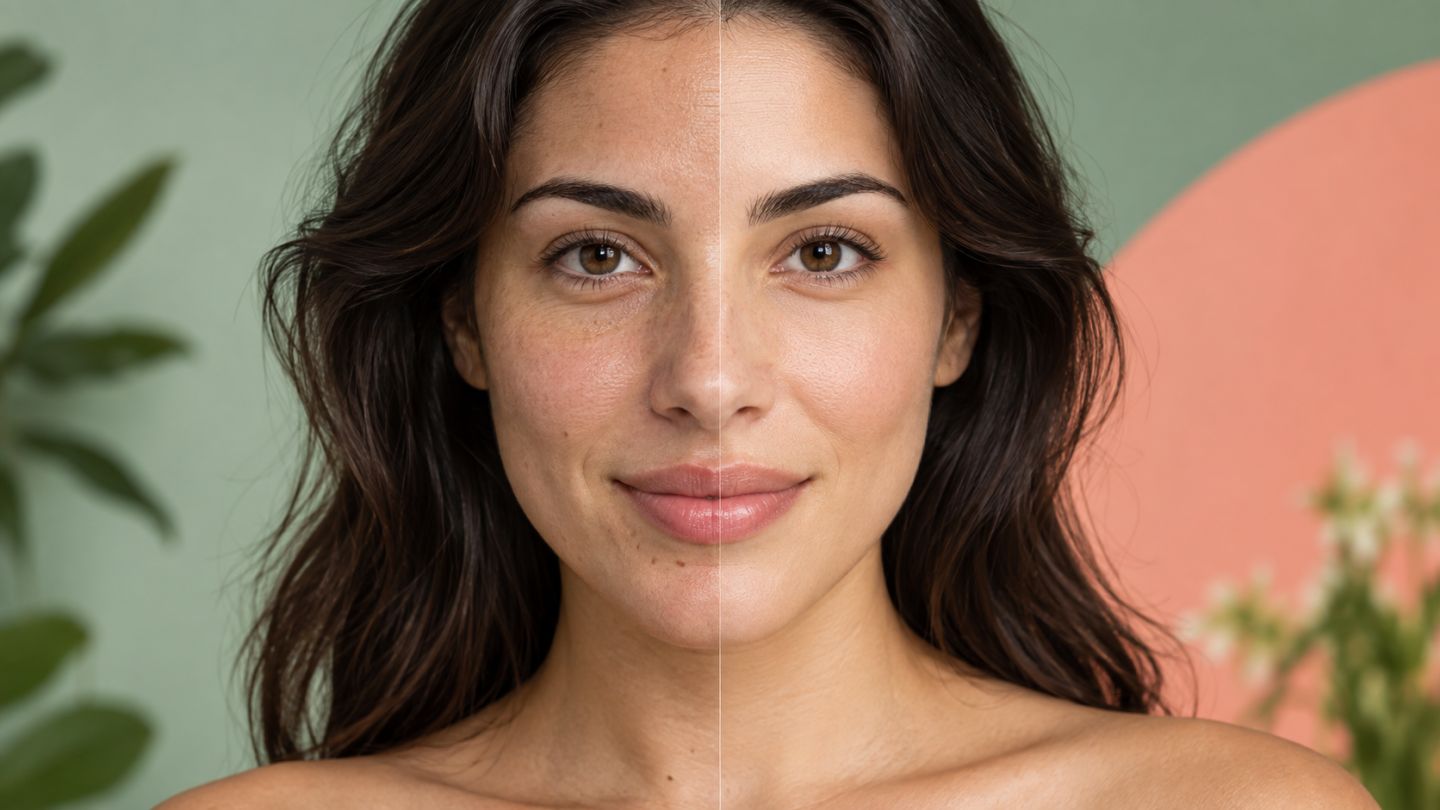
Natural skin retouching reduces distractions while preserving texture, facial volume, and identity. It should not erase every pore, line, or tonal difference.
Classify before editing
- Temporary: small blemishes, dust, or scratches can be cleaned.
- Permanent: moles, scars, and lines should remain unless agreed otherwise.
- Tonal: uneven light is better handled with Dodge & Burn.
- Color: redness or casts belong on masked Adjustment Layers.
Retouch workflow
- Balance white balance and exposure.
- Clean temporary blemishes on an empty Healing layer.
- Use Clone Stamp where exact texture or an edge matters.
- Even local tone with low-opacity Dodge & Burn.
- Correct local color with masked Hue/Saturation or Curves.
- Inspect at 100%, 50%, and final output size.
Preserve texture
Sample from areas with similar texture and light direction. Keep the brush only slightly larger than the defect. Avoid blurring the entire face. If using frequency separation, retain natural tonal transitions rather than flattening every variation.
Retouch responsibly
Do not change face shape, skin color, or identifying traits without consent. Journalism, records, and medical images may impose strict limits. Preserve the original and agree on scope with the subject or client.
Signs of over-retouching
- No visible pores at large viewing size.
- A flat face without natural tonal transitions.
- Eyes or teeth brighter than the scene lighting allows.
- Uniform skin color across unrelated areas.
- A face whose sharpness and grain no longer match the photograph.
A good retouch still looks like a real person in the same light, simply cleaner and more focused.
Practice exercise
Retouch a portrait for 20 minutes using three layers: cleanup, dodge/burn, and color. Remove only temporary blemishes, then compare with the original at the same zoom.


No comments yet. Be the first to share your thoughts.