
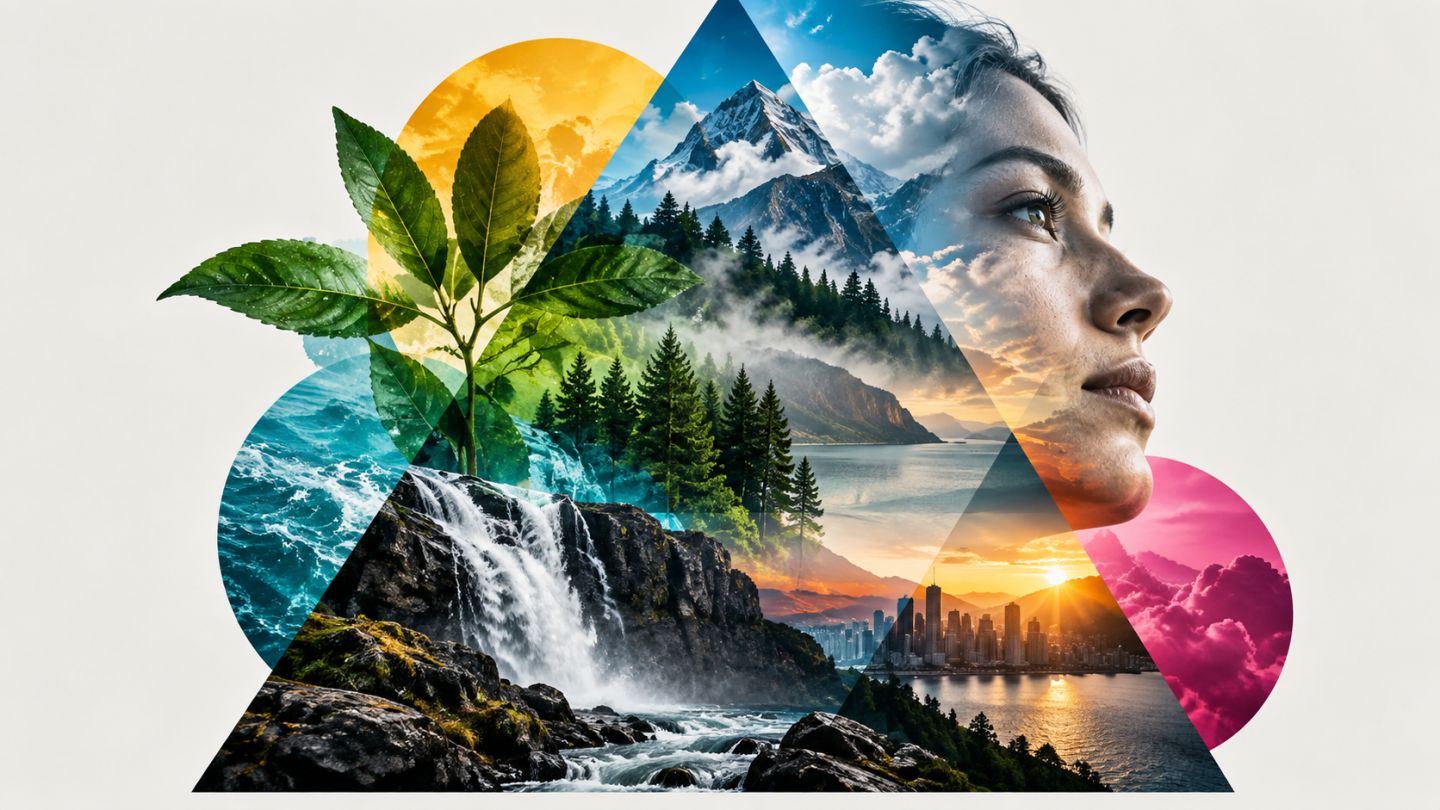
A Blending Mode defines how one layer interacts with pixels below it, while a Clipping Mask limits upper layers to the base layer's transparency. Together they add texture, color, and light without destructive cutting.
Main blending groups
| Group | Example | Typical use |
|---|---|---|
| Darken | Multiply | Remove light areas, add shadow or dark texture |
| Lighten | Screen | Remove dark areas, combine light effects |
| Contrast | Overlay, Soft Light | Contrast and restrained color |
| Component | Color, Luminosity | Separate color from brightness |
How clipping works
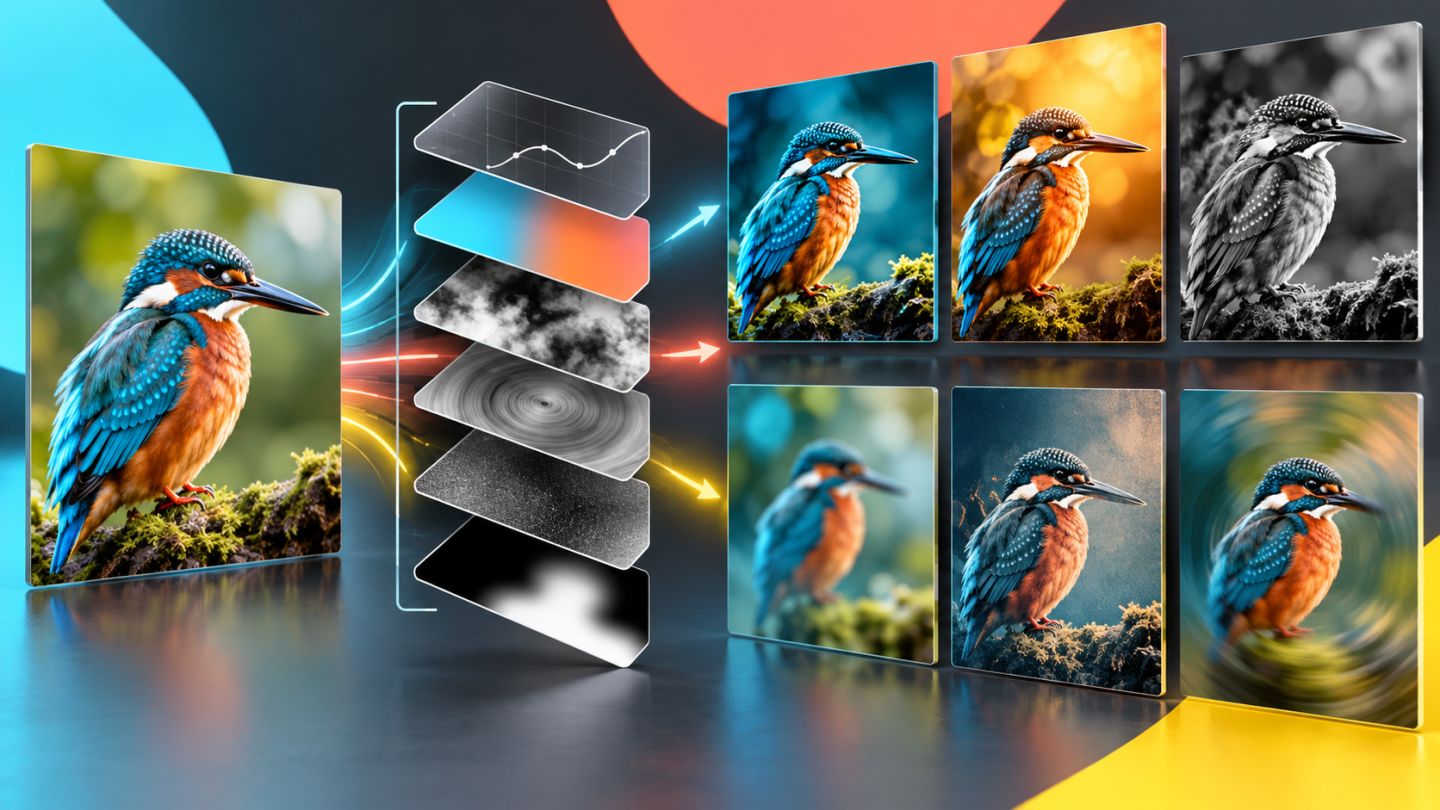
The opaque content of the base controls where clipped layers remain visible. Put an adjustment, texture, or highlight above the base and Alt/Option-click between layers. Several consecutive layers can share one base.
Combined workflow
- Create a base shape, text, or isolated product.
- Place a texture above and clip it.
- Choose Multiply, Screen, or Soft Light according to the goal.
- Control intensity with Opacity or Fill.
- Clip Curves or Hue/Saturation for object-only correction.
- Add a layer mask where the effect needs an independent boundary.
Opacity, Fill, and Blend If
Opacity reduces content and effects. Fill may reduce content while retaining some effects. Blend If hides pixels according to brightness in the current or underlying layer; Alt/Option-split its slider for a softer transition.
Common mistakes
- Choosing modes by name rather than visual purpose.
- Stacking excessive Overlay effects.
- Clipping the wrong layer because the stack is unclear.
- Using clipping when an independent layer mask is required.
- Ignoring banding or clipping after blending.
A Blending Mode should solve a specific relationship between two layers. If that relationship is unclear, try a simpler method.
Practice exercise
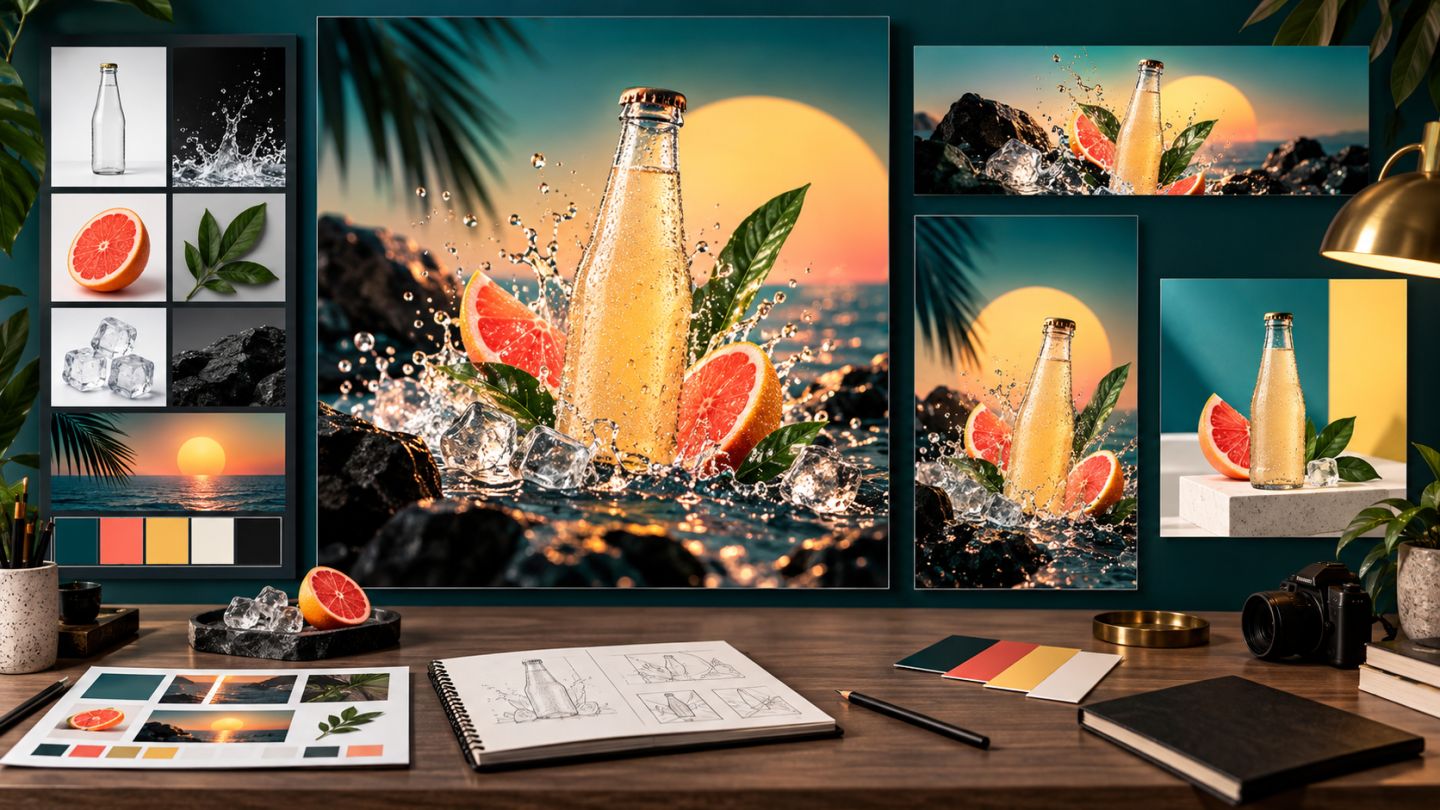
Create a geometric base. Clip a photograph, texture, and two adjustments to it; use Multiply for shadow, Screen for highlights, and Color for tint. Name every layer by purpose.

No comments yet. Be the first to share your thoughts.