
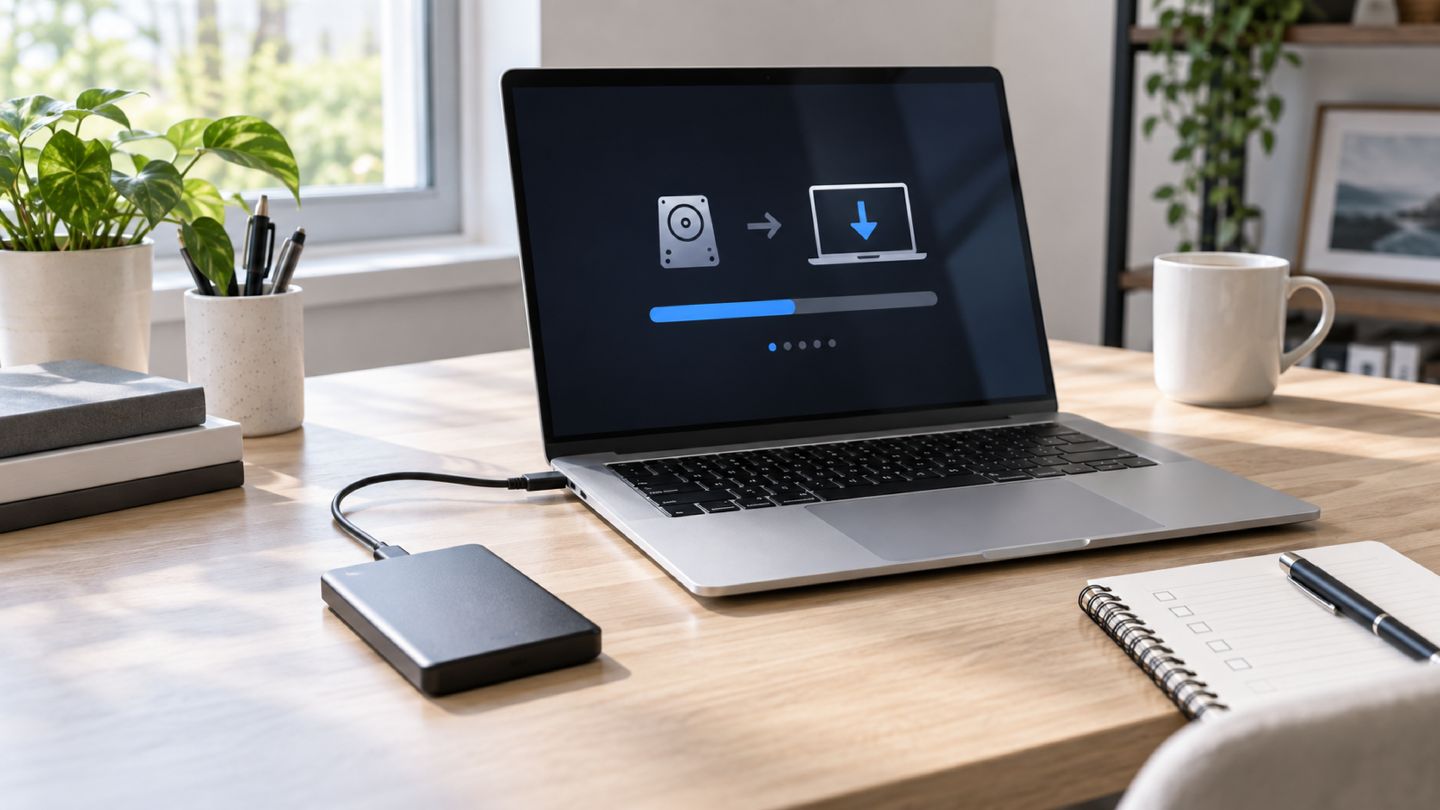
A complete MacBook reset removes accounts, applications, settings, and personal data. It is appropriate before selling, giving away, or reassigning a Mac, and sometimes for serious system problems, but only after a verified backup.
Newer MacBooks can use Erase All Content and Settings to erase quickly while retaining the installed operating system. Unsupported or unbootable Macs must start in macOS Recovery, erase the startup disk with Disk Utility, and reinstall macOS.
Erased data cannot be recovered without a backup. Open several files from external storage or verify the latest Time Machine backup before continuing.
1. Select the correct reset path
| Method | Requirement | Use it when |
|---|---|---|
| Erase All Content and Settings | macOS Monterey 12 or later on Apple silicon or a T2 Mac | The Mac works and needs a secure, quick reset |
| macOS Recovery and Disk Utility | The first option is unavailable or macOS will not start | Older Intel Mac, damaged startup disk, or manual erase |
| Reinstall macOS without erasing | Recovery is available | Repair macOS without intentionally deleting data |
If the goal is only to repair macOS while retaining data, reinstall from Recovery without erasing the disk. This guide focuses on a complete reset for a new owner or a fresh start.
2. Identify the processor and macOS version
- Open the Apple menu and select About This Mac.
- A Chip field showing M1, M2, M3, M4, or another Apple chip identifies Apple silicon.
- A Processor field containing Intel identifies an Intel-based Mac.
- Note the installed macOS version.
Some Intel Macs have an Apple T2 Security Chip and support Erase All Content and Settings when running macOS Monterey 12 or later.
3. Back up before erasing
Use Time Machine
- Connect an external drive with enough capacity.
- Open System Settings > General > Time Machine.
- Select the backup disk and start a backup.
- Wait for completion and verify the latest backup time.
Check synchronized and local data
- Confirm that iCloud Drive, Photos, Desktop, and Documents have finished syncing.
- Review Downloads and files stored outside iCloud.
- Export specialized application data that is not synchronized.
- Record software licenses, VPN settings, email accounts, and required passwords.
- Use Migration Assistant when moving to another Mac.
4. Prepare power, networking, and credentials
- Connect the MacBook to power throughout the reset.
- Use reliable Wi-Fi; Recovery and activation can require Internet access.
- Know the local administrator password.
- Have the Apple Account password available.
- For an organization-owned Mac, confirm device-management removal or reassignment first.
On an Apple silicon Mac running macOS 26 or later that was recently repaired, Apple recommends checking Repair Assistant for unfinished repair work before erasing.
5. Method 1: Erase All Content and Settings
This is the preferred method when available. It removes data, settings, and apps while maintaining the currently installed operating system.
macOS Ventura 13 or later
- Open System Settings from the Apple menu.
- Select General > Transfer or Reset.
- Click Erase All Content and Settings.
- Enter the administrator password when requested.
- Review what will be removed and confirm the backup.
- Enter the Apple Account password when asked to sign out of Apple services.
- Click Erase All Content & Settings.
macOS Monterey 12
Open System Preferences. From its menu in the menu bar, choose Erase All Content and Settings, then follow Erase Assistant.
The Mac restarts, may request Wi-Fi for activation, and then displays Setup Assistant. Bluetooth accessories may need to be powered on again or connected by cable.
6. Leave a Mac ready for a new owner
When Setup Assistant displays the welcome screen, do not sign in or create an account. After Erase All Content and Settings, hold the power button to shut down. After a Recovery reinstall, press Command-Q in Setup Assistant and choose Shut Down.
The recipient can then select their region, network, and Apple Account without the previous owner's details being attached again.
7. Method 2: Start macOS Recovery
Apple silicon MacBook
- Shut down the Mac.
- Press and hold the power or Touch ID button until Loading startup options appears.
- Select Options, then Continue.
- If prompted, select Macintosh HD and authenticate as an administrator.
Intel-based MacBook
- Shut down the Mac.
- Press the power button, then immediately hold
Command-R. - Release the keys at the Apple logo or spinning globe.
- Select a network and administrator account if requested.
If local Recovery fails on an Intel Mac, try Option-Command-R for Internet Recovery. Use the built-in keyboard so the startup shortcut is recognized promptly.
8. Sign out manually when Erase Assistant is unavailable
Before selling or giving away a Mac that cannot use Erase All Content and Settings, Apple recommends:
- Sign out of iCloud/Apple Account in System Settings or System Preferences.
- Open Messages, go to Settings/Preferences > iMessage, and click Sign Out.
- On pre-Catalina systems with iTunes, use Account > Authorizations > Deauthorize This Computer.
- Consider unpairing Bluetooth accessories that the previous owner will retain.
9. Erase the startup disk in Disk Utility
- In Recovery, choose Disk Utility > Continue.
- Under Internal, select the Macintosh HD startup volume.
- Click Erase.
- On Apple silicon, use Name Macintosh HD and Format APFS.
- On Intel, use APFS or Mac OS Extended (Journaled) as recommended by Disk Utility.
- Choose Erase Volume Group when available; otherwise choose Erase.
- Confirm and provide Apple Account credentials if requested.
Warning: Work only with the identified Internal startup disk. Do not erase a Time Machine disk, USB drive, or external disk containing the backup.
If Macintosh HD is missing, shut down, disconnect nonessential devices, and try again. A persistent missing disk or erase failure can indicate a hardware problem that requires service.
10. Reinstall macOS
- Quit Disk Utility to return to Recovery.
- Select Reinstall macOS and click Continue.
- Keep power and Internet connected.
- Select Macintosh HD as the destination.
- Allow downloads, installation, and restarts to finish without closing the lid or forcing shutdown.
The macOS version offered can depend on the Recovery mode and upgrade history. When keeping the Mac, run Software Update afterward to install the latest compatible updates.
11. Restore data or leave the Mac empty
- Keep using it: complete Setup Assistant, sign in, then restore with Time Machine or Migration Assistant.
- Sell or give it away: stop at Setup Assistant and shut down without restoring data.
- Managed device: confirm whether the Mac automatically reenrolls in device management.
12. Common problems
- Erase All Content and Settings is missing: verify Apple silicon/T2 hardware and macOS Monterey 12 or later.
- Previous Apple Account requested: authenticate to clear Activation Lock; for a used Mac, the previous owner must remove it from their account.
- Spinning-globe error: change networks, use Ethernet, or retry Internet Recovery.
- Internal disk missing: disconnect external devices and restart Recovery; seek service if it remains absent.
- Installation appears stuck: keep power and networking stable and avoid force shutdown unless the process is confirmed unresponsive.
- Windows Boot Camp volume exists: remove Boot Camp with the supported procedure first if Erase Assistant requests it.
Safe reset checklist
- Important data is backed up and verified.
- The Mac is identified as Apple silicon or Intel, and the macOS version is known.
- Administrator and Apple Account passwords are available.
- The MacBook is connected to power and reliable Internet.
- The correct Erase Assistant or Recovery path was selected.
- The backup disk will not be erased in Disk Utility.
- For handoff, the Mac remains at Setup Assistant without signing in again.




No comments yet. Be the first to share your thoughts.