
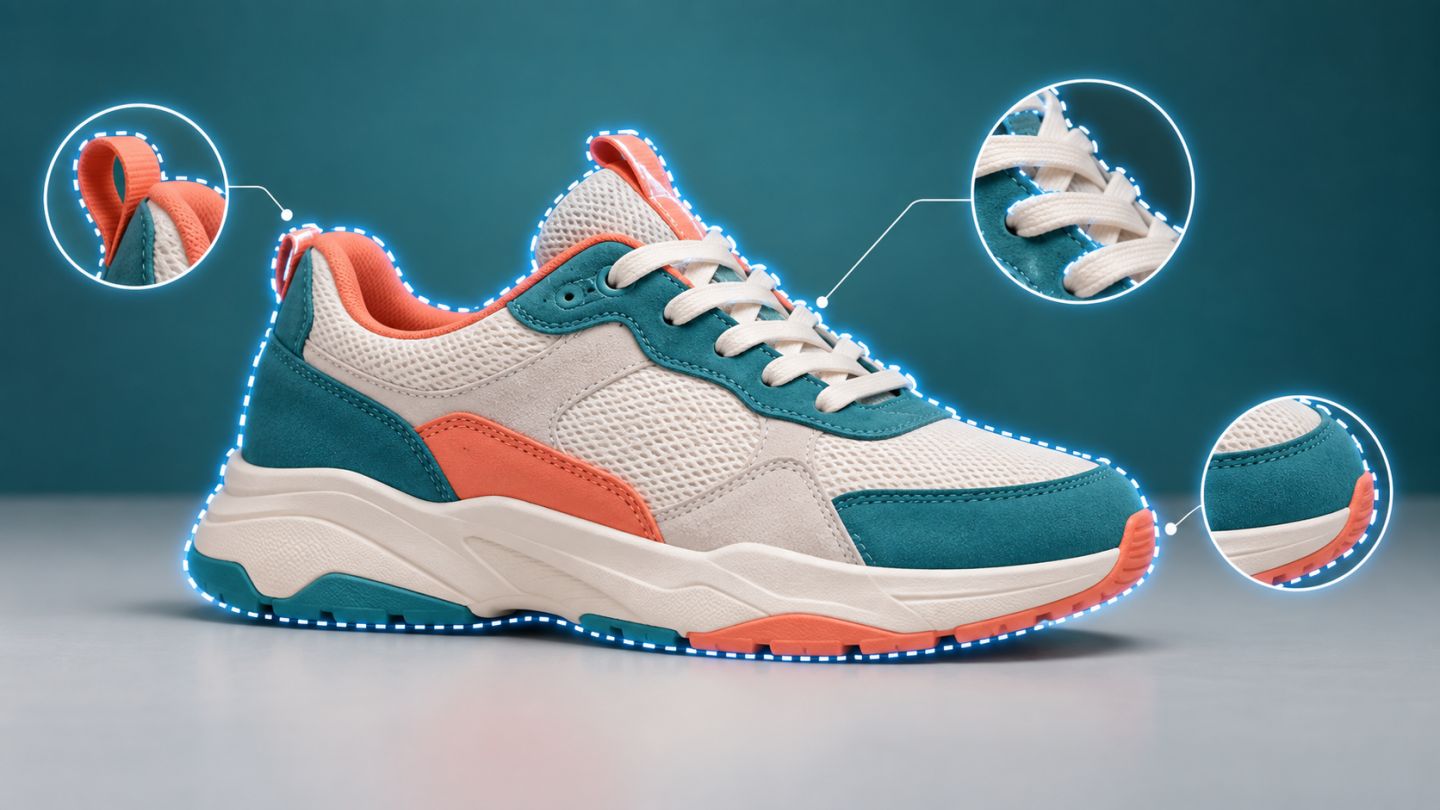
Object Selection and Select Subject provide a fast starting point, but professional results still require edge inspection. Both use content recognition, while offering different levels of control.
Choose the right automatic method
| Tool | How it works | Best use |
|---|---|---|
| Select Subject | Finds the main subject across the image | One prominent person or object |
| Object Selection | Hover, draw a box, or lasso an object | Scenes containing several objects |
| Quick Selection | Paints to add or subtract areas | Correcting missing or excessive regions |
A six-step isolation workflow
- Duplicate the source layer or convert it to a Smart Object.
- Use Select Subject for a clear main subject or Object Selection to identify a specific object.
- Add and subtract obvious areas before entering Select and Mask.
- Choose view modes such as On Black and On White to reveal defects.
- Refine hair, fur, fabric, and soft boundaries locally.
- Output to a layer mask so the result remains editable.
Understand edge controls
Smooth reduces irregularity but can remove tiny corners. Feather softens transitions and should be restrained. Contrast firms up soft boundaries, while Shift Edge contracts or expands the boundary to manage background halos.
Correct halos and color contamination
- Inspect the subject over at least two contrasting backgrounds.
- Contract the mask slightly where a bright halo remains.
- Paint on the mask for small local corrections.
- Use color decontamination cautiously because it can change pixel color.
- Preserve the distinct edge character of hair, cloth, and hard products.
Control Object Finder
Object Finder can highlight detected objects as you hover. On complex images or slower computers, turn off continuous detection and draw a rectangle or lasso to restrict the area being analyzed.
Automatic isolation is the beginning. The final quality is decided by inspecting the edge in its actual destination.
Common mistakes
- Accepting automatic output without viewing it at 100%.
- Using heavy feather to hide errors.
- Deleting the background instead of masking it.
- Checking only over transparency.
- Removing the contact shadow that grounds a product.
Practice exercise
Choose a product photo with laces, holes, or fabric edges. Isolate it once with Select Subject and again with Object Selection. Save both as masks, test them on white and dark backgrounds, and compare where each method performed better.



No comments yet. Be the first to share your thoughts.