
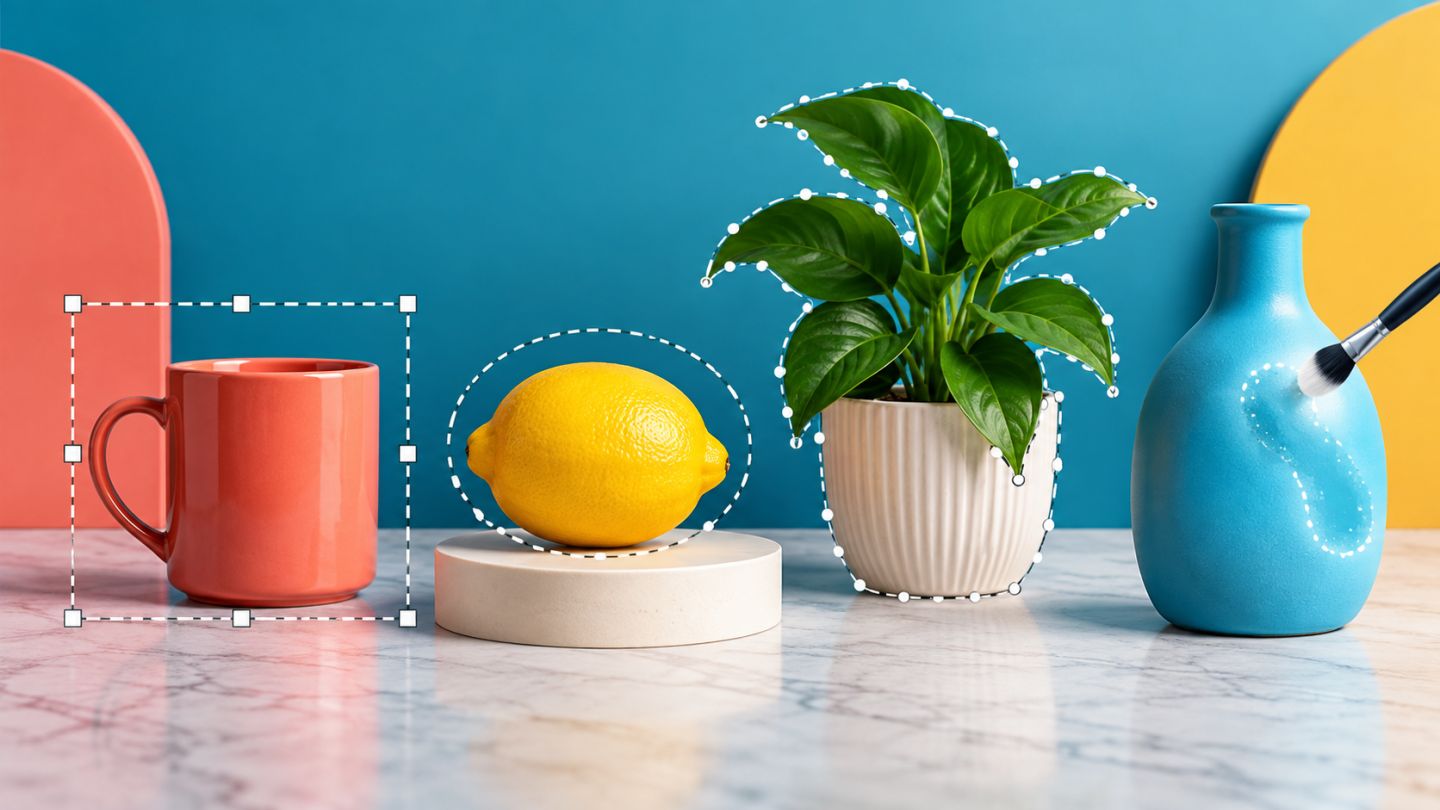
A selection defines which part of an image can be edited. It lets you adjust color, copy content, build a mask, or apply an effect without changing everything else.
Marquee, Lasso, and Quick Selection solve different problems: geometric areas, hand-drawn boundaries, and content-aware edge detection.
Match the tool to the shape
| Tool | Best use | Watch for |
|---|---|---|
| Rectangular/Elliptical Marquee | Rectangles, squares, circles, ellipses | Hold Shift while dragging to constrain proportions |
| Lasso | Fast freehand boundaries | Accuracy depends on hand control |
| Polygonal Lasso | Objects with straight edges | Place anchor points at corners |
| Magnetic Lasso | High-contrast edges | Can drift in low contrast |
| Quick Selection | Subjects distinct from their background | Inspect hair and small details |
Use the four selection modes
The Options bar offers New, Add, Subtract, and Intersect. Build a broad selection first, then add missing areas and subtract unwanted ones rather than trying to capture everything in one gesture.
Work precisely with Marquee
Marquee tools are useful for interface layouts, frames, and geometric content. Use zero feather for a crisp edge. Add only a small feather when a soft transition is appropriate, and judge the result at 100% zoom.
Draw boundaries with Lasso
The regular Lasso is good for quickly restricting a local tone or color adjustment. Polygonal Lasso suits boxes, screens, and architecture. Magnetic Lasso follows contrasting edges but benefits from manual anchor points around turns.
Guide Quick Selection
Quick Selection evaluates color and texture as you paint. Begin with a medium brush inside the subject, reduce its size for small areas, and switch to subtract mode if the selection spills onto the background.
Move to a non-destructive result
- Create a rough selection with the most suitable tool.
- Use selection modification commands or Select and Mask.
- Inspect the boundary against light and dark backgrounds.
- Output to a layer mask instead of deleting pixels.
- Correct small defects by painting on the mask at 100% zoom.
A useful selection does not need to be perfect immediately. Select quickly, refine deliberately, and keep the result editable.
Common mistakes
- Using excessive feather and creating a blurry edge.
- Editing the wrong layer with the right selection.
- Forgetting to deselect with
Ctrl/Cmd + D. - Judging edges while zoomed too far out.
- Deleting a background instead of masking it.
20-minute exercise
Photograph a cup, a round fruit, a plant, and an angular object. Select each with a different tool, convert the result to a mask, and test every edge over both a light and a dark background.



No comments yet. Be the first to share your thoughts.