
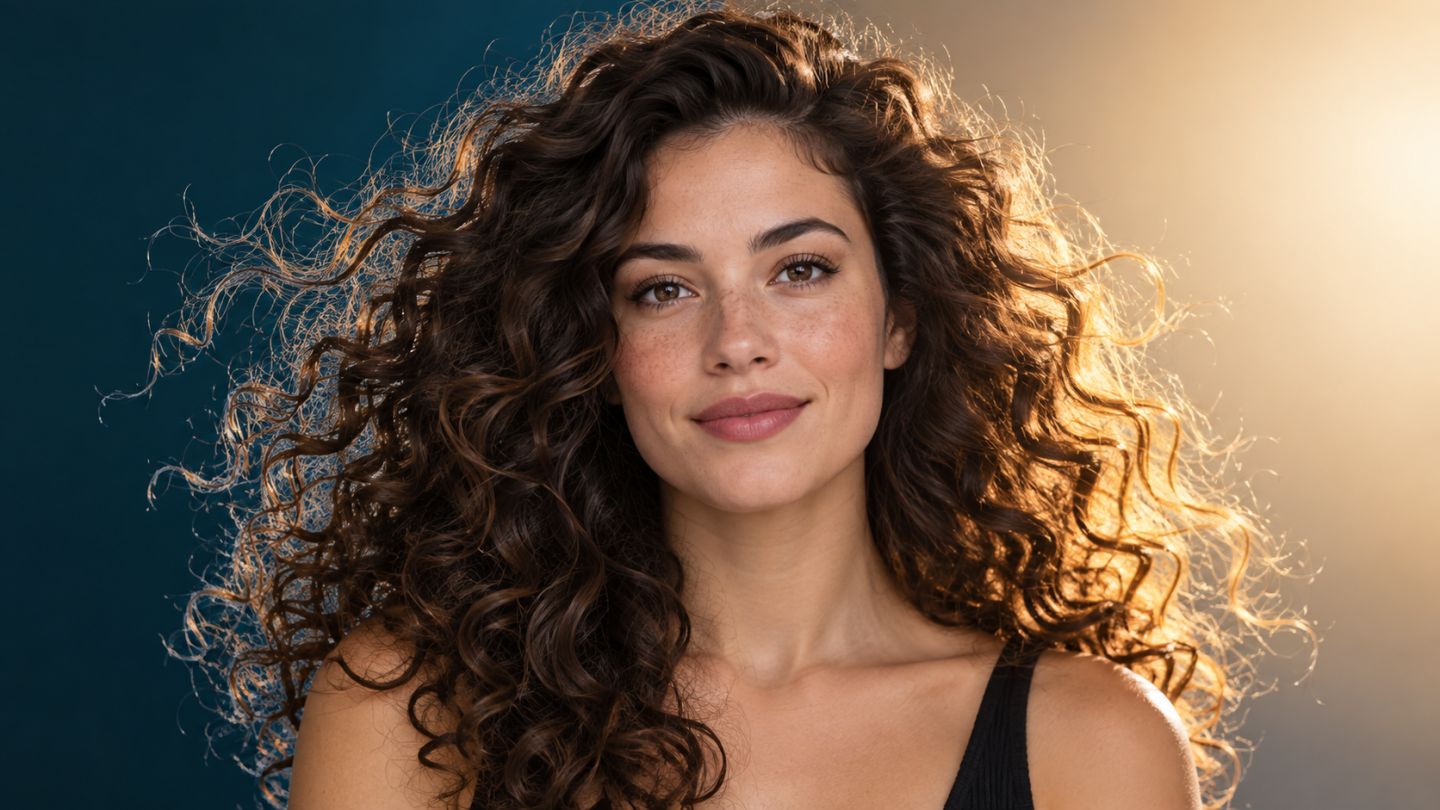
Hair behaves like a semi-transparent region with many small edges, not one hard outline. A reliable workflow combines automatic selection, edge refinement, and manual mask repair.
Prepare the image
A sufficiently large image with separation between hair and background is easier to process. Duplicate the layer, add light and dark test backgrounds, and use Select Subject for the initial selection.
Select and Mask workflow
- Open Select and Mask from the subject selection.
- Switch among On Black, On White, and Overlay views.
- Use Refine Hair or Refine Edge Brush only around hair.
- Apply restrained Radius and Edge Detection.
- Use Smooth, Feather, Contrast, and Shift Edge carefully.
- Output to a Layer Mask or New Layer with Layer Mask.
Choose a refine mode
| Mode | Best use |
|---|---|
| Color Aware | Clear color separation between hair and background |
| Object Aware | Complex hair or similar foreground/background colors |
Manage color fringes
If the old background leaves a bright or colored halo, contract Shift Edge slightly and repair the mask locally. Decontaminate Colors can help but changes pixel color, so output to a new layer and preserve the source.
Finish the mask
- Paint white with a small brush to recover important curls.
- Paint black to remove remaining background patches.
- Do not preserve every tiny strand if it creates noisy edges.
- Add replacement strands only when direction and light match.
- Judge the result at final size, not only at extreme zoom.
A convincing hair mask needs a natural overall silhouette before it needs perfect individual strands.
Practice exercise
Place one extracted portrait over white, black, and saturated backgrounds. Record defects visible on each, repair the mask, and inspect again at 100% and final web size.


No comments yet. Be the first to share your thoughts.