
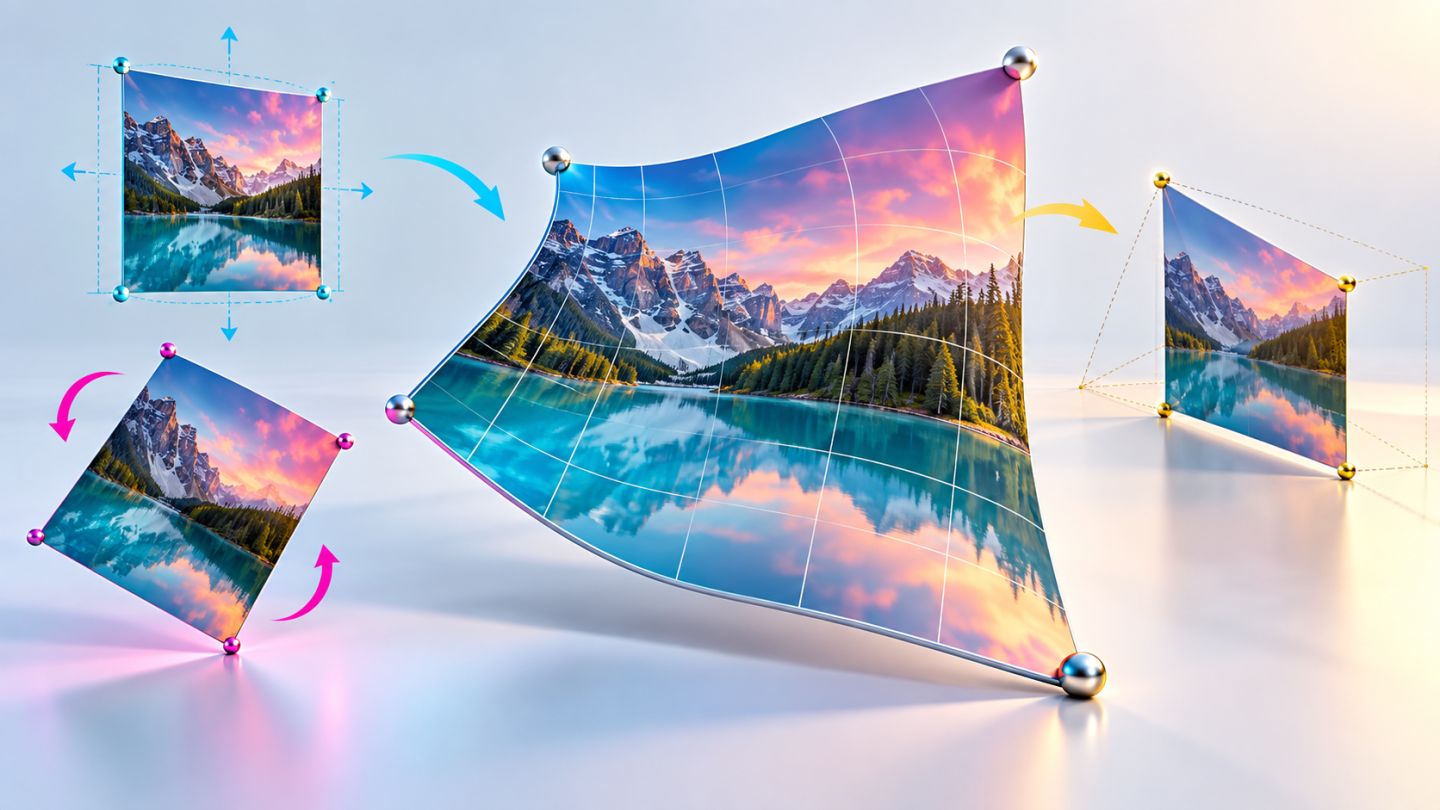
Transform is more than scaling. Understanding reference points, proportions, and perspective helps you place artwork on screens, packaging, and curved surfaces naturally.
Begin with a Smart Object
Convert a layer to a Smart Object before repeated transformation. Photoshop retains the source content inside, allowing dimensions to be revised with less degradation than repeated transforms on a raster layer.
Compare transform modes
| Mode | Effect | Example |
|---|---|---|
| Scale/Rotate | Changes size or angle | Position a logo in a layout |
| Skew | Slants along an axis | Create a simple angled effect |
| Distort | Moves corners independently | Fit artwork to an angled screen |
| Perspective | Moves paired corners symmetrically | Create convergence into depth |
| Warp | Bends content with a mesh | Wrap artwork around a cup or fabric |
Scale and rotate deliberately
Open Free Transform with Ctrl/Cmd + T. Shift behavior can depend on version and preference settings, so check the Width/Height link in the Options bar instead of relying only on older habits.
Move the reference point to rotate around a specific location. Enter Width, Height, or angle values directly when several elements need consistent treatment.
Fit planes with Distort and Perspective
Distort lets you map four artwork corners to four destination corners, which works well for screens, signs, and posters. Perspective moves paired corners in relation to one another for simple convergence.
Geometry is only the first step. Match brightness, contrast, color, sharpness, and shadow so the inserted content belongs in the scene.
Use Warp for curved surfaces
Warp bends content through a mesh. Start with few controls, establish the broad shape, and add divisions only where necessary. Too many early points create ripples that are difficult to manage.
- Preserve straight lines where the surface remains flat.
- Follow the object's contour and lighting direction.
- Avoid stretching one region until its texture looks unnatural.
- Use a mask to hide artwork that should pass behind the object.
A natural mockup workflow
- Place the artwork as a Smart Object.
- Use Distort or Perspective to match the main plane.
- Add restrained Warp for curvature.
- Choose blending and adjustments appropriate to the material.
- Restore surface highlights, shadows, and texture.
- Inspect at the final display size.
Correct perspective solves shape. Lighting, sharpness, noise, and shadow make the composite feel like one photograph.
Common mistakes
- Transforming a raster layer repeatedly.
- Breaking proportions to force artwork into a frame.
- Over-warping and creating unnatural curves.
- Matching corners while ignoring the scene's vanishing direction.
- Leaving inserted artwork too sharp or clean for the source photo.
Practice exercise
Fit rectangular artwork onto an angled display with Distort. Then wrap a second version around a cylindrical object with Warp. Keep both as Smart Objects, use masks for occlusion, and finish by matching light and contrast.

No comments yet. Be the first to share your thoughts.