
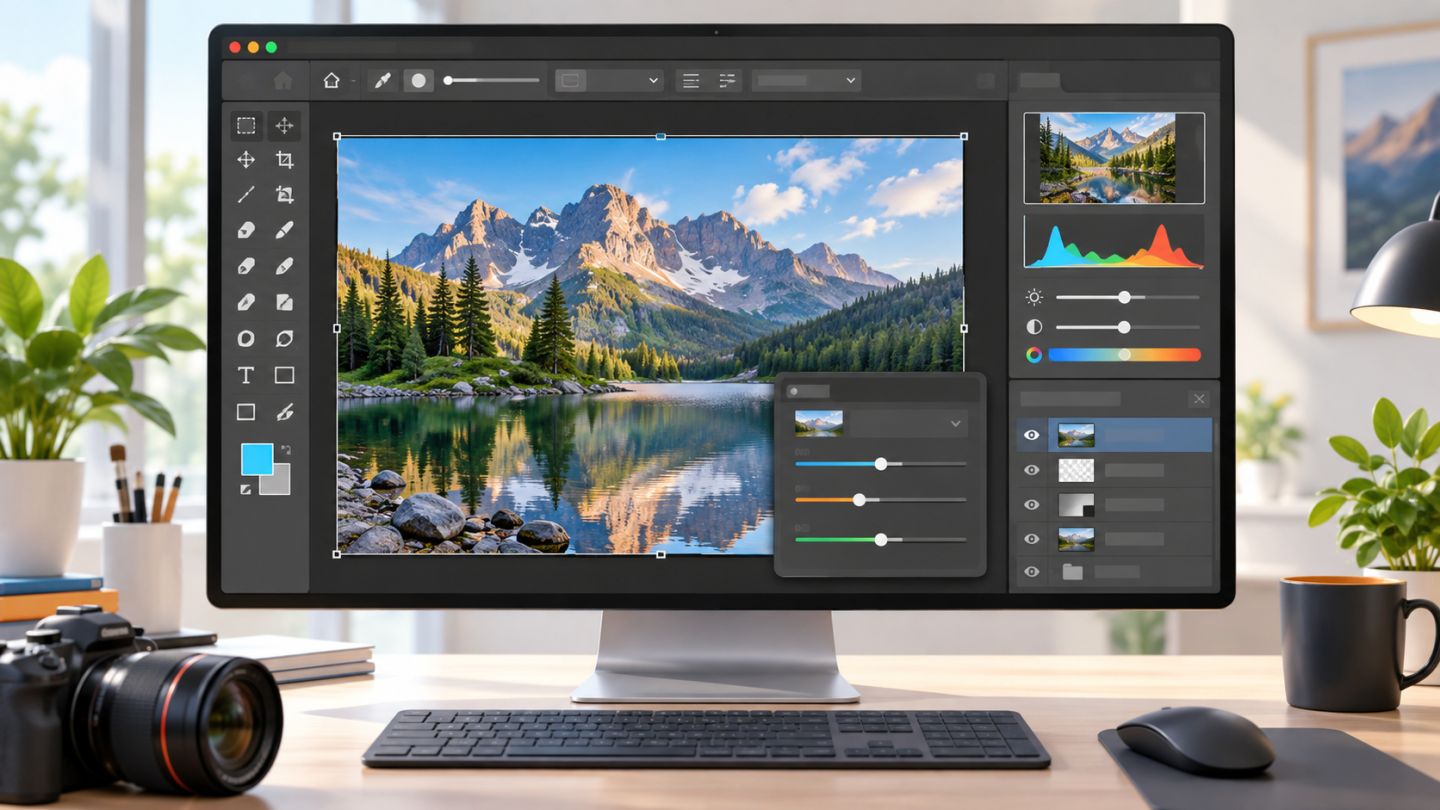
Photoshop can feel crowded, but daily work revolves around a small number of interface areas. Understanding each area's responsibility makes tools easier to find and reduces accidental edits to the wrong layer.
The six main workspace areas
| Area | Purpose |
|---|---|
| Application bar | Menus, search, workspace switching, and app controls |
| Document window | The document being edited |
| Tools panel | Selection, painting, retouching, type, and navigation tools |
| Options bar | Settings for the active tool |
| Panels | Layers, properties, color, history, and more |
| Contextual Task Bar | Relevant next steps for the current content or tool |
Choose an appropriate workspace
Use the workspace switcher or Window > Workspace. Essentials supports general learning, while Photography prioritizes image-editing panels. Save a custom workspace after arranging the interface for your regular tasks.
If the layout becomes confusing, reset the current workspace instead of manually reconstructing every panel.
Open and arrange panels
Open panels from Window. Drag a panel tab into a highlighted drop zone to dock or group it; drag it away to float. Save the layout when it works well. Tablet users can lock the workspace to prevent accidental movement.
Six essential beginner panels
- Layers manages document components.
- Properties edits the selected layer, mask, or adjustment.
- Adjustments creates editable tone and color changes.
- History shows recent steps in the current session.
- Color/Swatches selects and stores colors.
- Info reports position, dimensions, and color values.
History is not a substitute for saving. Keep milestone PSD versions for important work.
Understand the Tools panel
Tools are grouped by function, and icons with a small triangle contain related tools. Start with Move, Marquee, Lasso, Object Selection, Crop, Brush, Healing, Type, Hand, and Zoom. Always check the Options bar before editing.
Navigate without changing the image
Ctrl/Cmd + +andCtrl/Cmd + -: zoom.- Hold
Space: temporarily pan with the Hand tool. Ctrl/Cmd + 0: fit the image on screen.Ctrl/Cmd + 1: view at 100%.Tab: hide or show panels.
Zoom changes only the view. It does not alter document pixel dimensions.
Use the Contextual Task Bar
The bar offers relevant actions such as selecting a subject, removing a background, refining a selection, or editing text. It is useful for discovery, but understanding the layers and masks created by those actions remains important.
A practical layout
- Tools on the left.
- The largest possible document window in the center.
- Properties and Adjustments at the upper right.
- A tall Layers panel at the lower right.
- History, Color, and Info collapsed into tabs until needed.
15-minute exercise
- Open an image and choose Essentials.
- Open Layers, Properties, History, Color, and Info.
- Arrange them into useful groups.
- Hide and restore all panels with Tab.
- Save the layout as
Learning. - Move a panel, then reset the workspace.

No comments yet. Be the first to share your thoughts.