
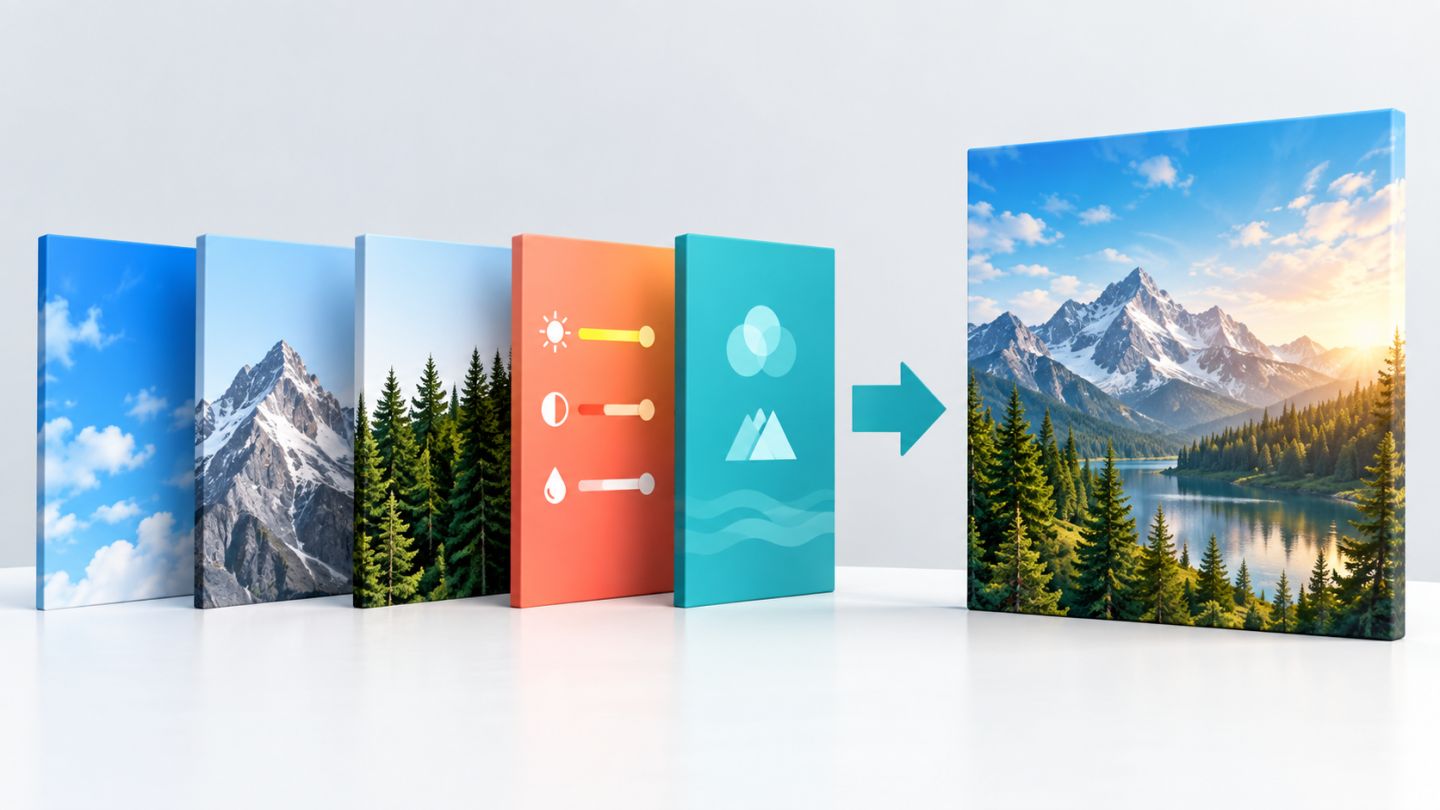
Layers are the foundation of most modern Photoshop workflows. Think of each layer as a separate sheet containing a photograph, text, shape, or adjustment. The stacked sheets form the final image.
Separating content makes experimentation, correction, and handoff much easier than editing everything on one pixel layer.
Common layer types
| Type | Purpose |
|---|---|
| Image/Pixel layer | Raster content such as photos and painting |
| Background layer | An initially locked document background |
| Type layer | Editable text |
| Shape layer | Scalable vector shapes |
| Adjustment layer | Editable tone and color changes |
| Fill layer | Editable color, gradient, or pattern |
| Smart Object | Preserved source content for transforms and Smart Filters |
Create and select layers
Open the panel through Window > Layers. The highlighted layer is active, and most edits affect only that layer. Shift-click selects a contiguous range; Ctrl-click on Windows or Cmd-click on macOS selects non-contiguous layers.
Layer order changes the image
Opaque pixels on upper layers cover content below. Drag layers to change order. When an object appears to vanish, check whether another layer is covering it before assuming it was deleted.
Name layers immediately
hero-photo
headline
product-shadow
color-grade
background-texture
Descriptive names make documents searchable and transferable. Color labels can mark items needing review.
Group related components
Groups keep the panel manageable and can receive a shared mask, opacity setting, or adjustment. Organize by visual component rather than creating meaningless groups around every single layer.
01-background/
02-product/
03-copy/
04-effects/
05-adjustments/
Use locks intentionally
- Lock transparent pixels limits edits to existing pixels.
- Lock image pixels prevents pixel editing.
- Lock position prevents movement.
- Lock all blocks direct changes.
Lock completed elements to prevent accidental movement, but maintain a structure that collaborators can understand.
Opacity, Fill, and blending
Opacity changes the transparency of the entire layer and many effects. Fill primarily changes layer content and may behave differently with layer styles. Blending modes control interaction with lower layers. Learn Normal, Multiply, Screen, and Overlay before exploring the full list.
Hide, duplicate, and delete
- Use the eye icon to compare alternatives.
- Duplicate before a major experiment.
- Remove empty and obsolete layers.
- Store major alternatives as separate document versions instead of overcrowding one PSD.
Be careful with Rasterize, Merge, and Flatten
Rasterizing converts editable type, shapes, or Smart Objects into pixels. Merge combines selected layers. Flatten combines the visible document and discards hidden layers. Save a fully layered master before these operations.
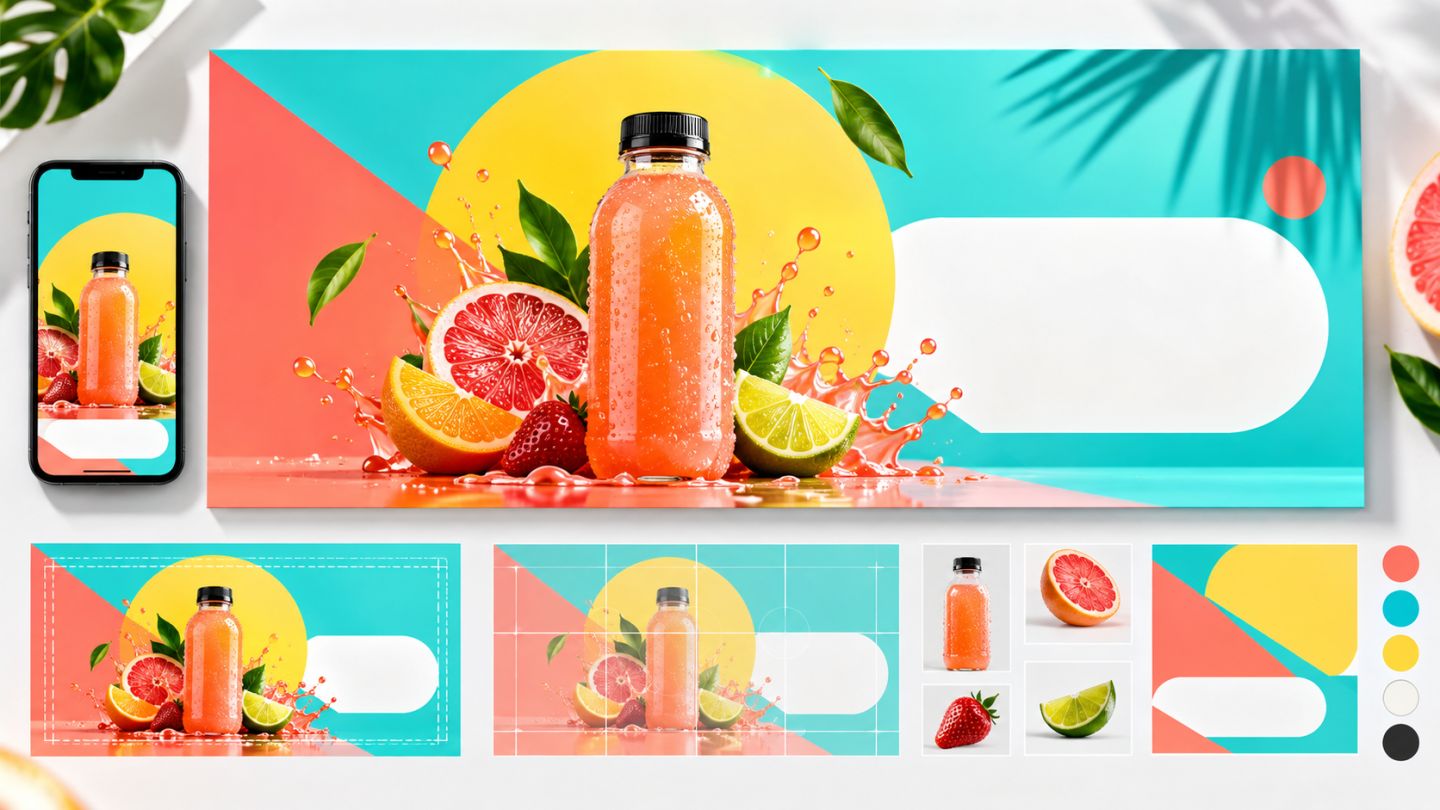
Example banner structure
05-adjustments/
  color-balance
04-effects/
  light
  grain
03-copy/
  headline
  call-to-action
02-product/
  product-smart-object
  product-shadow
01-background/
  background-photo
Practice exercise
- Create a document and add a background photo.
- Place a product as a Smart Object.
- Add text and one adjustment layer.
- Name and group every layer.
- Lock the background and toggle each group.
- Save, close, and reopen the PSD; verify that the product and text can still be replaced independently.
No comments yet. Be the first to share your thoughts.